CoinForBarter Standard
Learn how to accept payments using the CoinForBarter standard integration flow
By calling our /payments endpoint, you can accept payment more efficiently and securely using the standard method. When you call the endpoint CoinForBarter will send a response with a payment link. Do a redirect to the link. A secure checkout modal will be loaded for your customer to enter their payment details and complete the payment.
When the transaction is completed we would call your redirectUrl and append the payment response as query parameters. Follow the steps below to integrate the CoinForBarter standard.
STANDARD ENDPOINT
Integrate CoinForBarter Standard
The following steps will show you how to integrate CoinForBarter standard.
1. Collect Payment Details
Collect the customer's email address and currency. If customers are required to enter the payment amount themselves, collect that as well. You need to make sure emails are unique per customer.
When you've collected the customers' details, add it to your request object and call our standard payment endpoint.
CoinForBarter Standard Request Parameters
2. Initial Payment
After the customers fills out their payment details, initiate the payment by calling CoinForBarter API with the collected payment details.
Example of how to initial payment:
Payment Endpoint
Authorization Sample
For Client Side, use Public Key, and following endpointPayment Endpoint
Method: POST
Headers: Authorization: Bearer [PUBLIC_KEY]
When you send this request to the CoinForBarter API endpoint, we will return a payment link in the response. Pass this link back to your customer for them to complete the transaction. The link will load up our checkout modal in accordance with the configurations you defined in your initial payment call.
CoinForBarter Standard Sample Response
Here's an example of a response object containing the payment link returned:
Now when you pass the returned link to the user, they will be provided with our checkout modal to complete the payment like the one below:
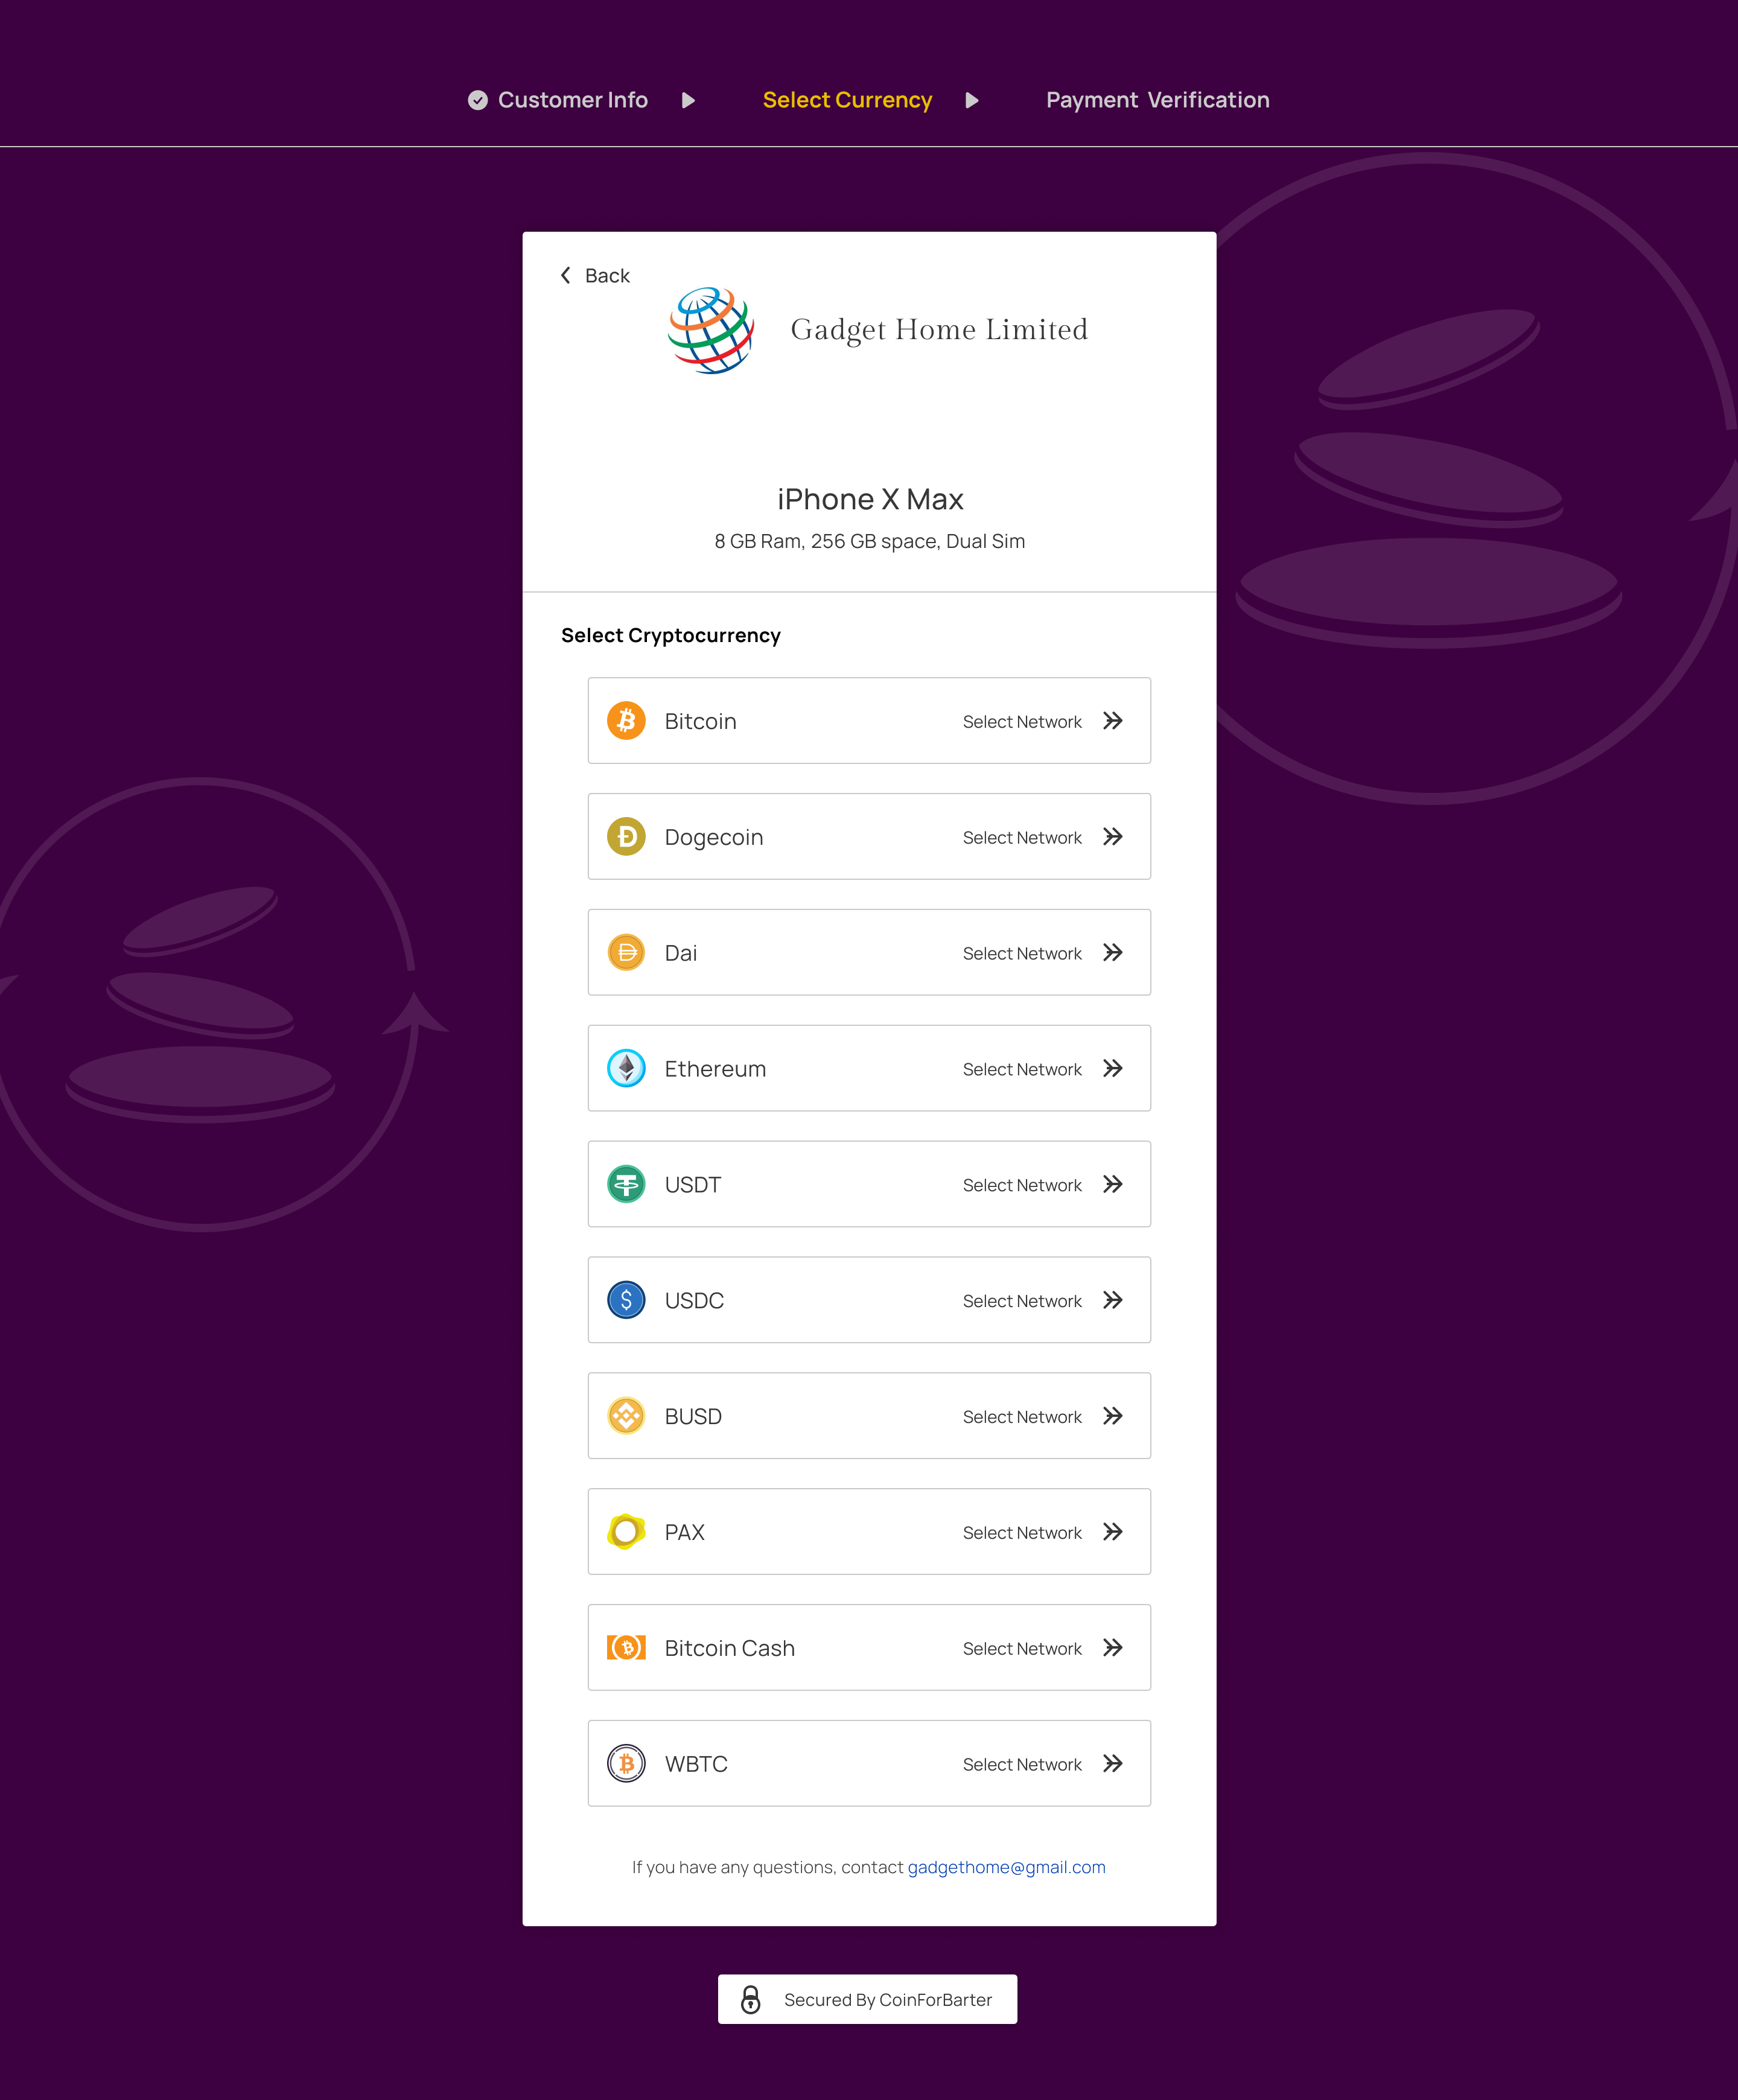
What happens when the user completes the transaction on the page?
When the user sends chooses a currency and network and deposit value to the given address, CoinForBarter would validate then transaction on the respective blockchain. Once the transaction is confirmed, we would:
Call your specified redirectUrl and post the response to you. We will also append your transaction ID (transactionId), transaction reference (txRef) and the transaction status (status) as query params to the redirectUrl like:
/txRef=ref&transactionId=30490&status=success.Call your webhook URL (if one is set).
Send an email to you and your customer on the successful payment. If email to customers is turned off we wouldn't send emails.
Before you give value to the customer, please make a server-side call to our Transaction verification endpoint to confirm the status of the transaction.
3. Handling Payment Response
When the transaction is completed, we send an event to your webhook URL and also append the reference to your redirectUrl. You can use either of both responses to verify the payment and give value to the customer.
You can pick up the transaction ID from the response or use the post body sent to your redirectUrl to verify the transaction and give value. See Transaction verification page for more detail.
Join Developers Channel on Slack
Join our developers channel to stay up to date on latest news and features. Find answers to your problems and network with other developers. Join Developers Channel.